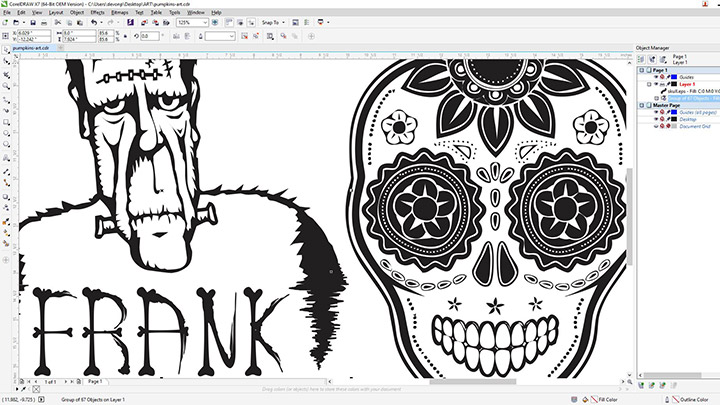
Preparare gli elementi grafici
Scarica i file per l'incisione e adatta la grafica di conseguenza.
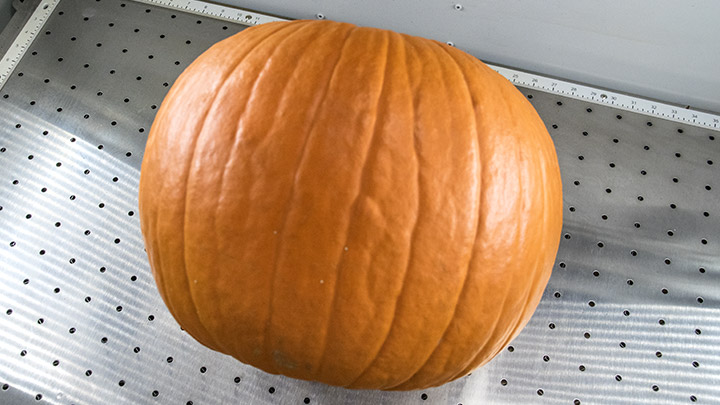
Una volta modificata la grafica a suo piacimento, è il momento di incidere. Inizi a individuare l'area più piatta disponibile sulla sua zucca. Metta a fuoco manualmente il laser tra i punti più alti e più bassi dell'area di incisione designata. Vorrà che il laser rimanga il più focalizzato possibile, quindi potrebbe dover ridimensionare il suo progetto per adattarlo a un'area più piccola. Abbiamo utilizzato la lente da 4 pollici per coprire un'area più ampia sulle nostre zucche. Utilizzi qualsiasi materiale a portata di mano (argilla da modellare, blocchi di legno, ecc.) per sostenere la zucca nel laser, in modo che non rotoli durante l'incisione. Abbiamo utilizzato alcuni jig a penna.
Inviare al laser
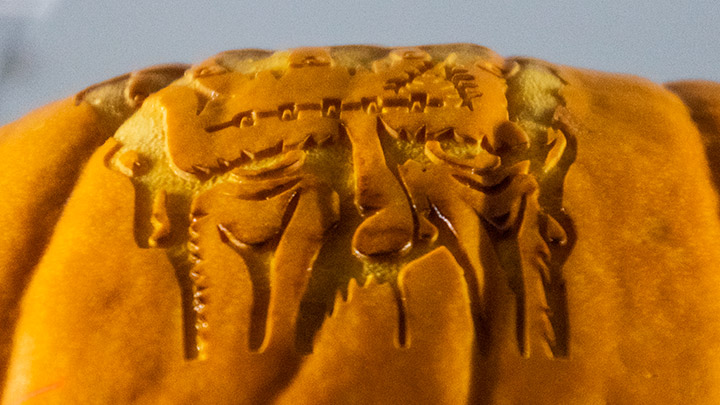
Metta a fuoco manualmente il laser sul punto centrale dell'incisione. Quindi incidi il contorno vettoriale (ricordati di accendere il puntatore laser e di lasciare il coperchio aperto) per assicurarti che la posizione sia quella desiderata. Quando sei soddisfatto, invia il lavoro al laser e premi "go".
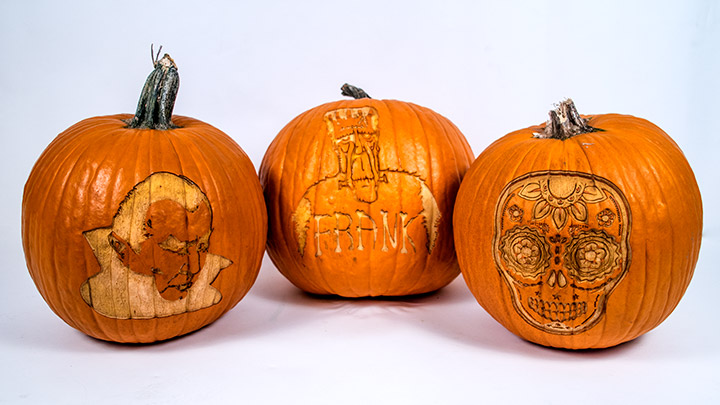
Dove può vendere zucche personalizzate?
- Eventi aziendali di Halloween
- Festival autunnali locali
- Attività scolastiche/eventi autunnali


